Adding a Vehicle to a Project
Step-by-step guide to registering a new vehicle in your Fleetwise project.
Overview
Every vehicle in Fleetwise belongs to a project. Adding a vehicle registers it in the project fleet so it can be allocated to requests, scheduled in usage plans, and tracked on the map.
General Information
Name, VIN, status, and optional image.
Spec Codes
Technical specifications that describe the vehicle build.
Vehicle Tags
Attribute tags for filtering and matching.
Availability Period
Date range when the vehicle is available for requests.
Before You Start
- You need the Vehicle Create permission in the project. Fleet Coordinators and Owners have this by default.
- Know the vehicle's VIN and intended availability dates.
- If your project uses spec codes or attribute tags, confirm they are configured in Project Settings first.
Project Settings
Spec code families and attribute categories are managed under Settings → Specifications and Settings → Attributes for each project. Ask your project Owner to add them if they are missing.
Step-by-Step Guide
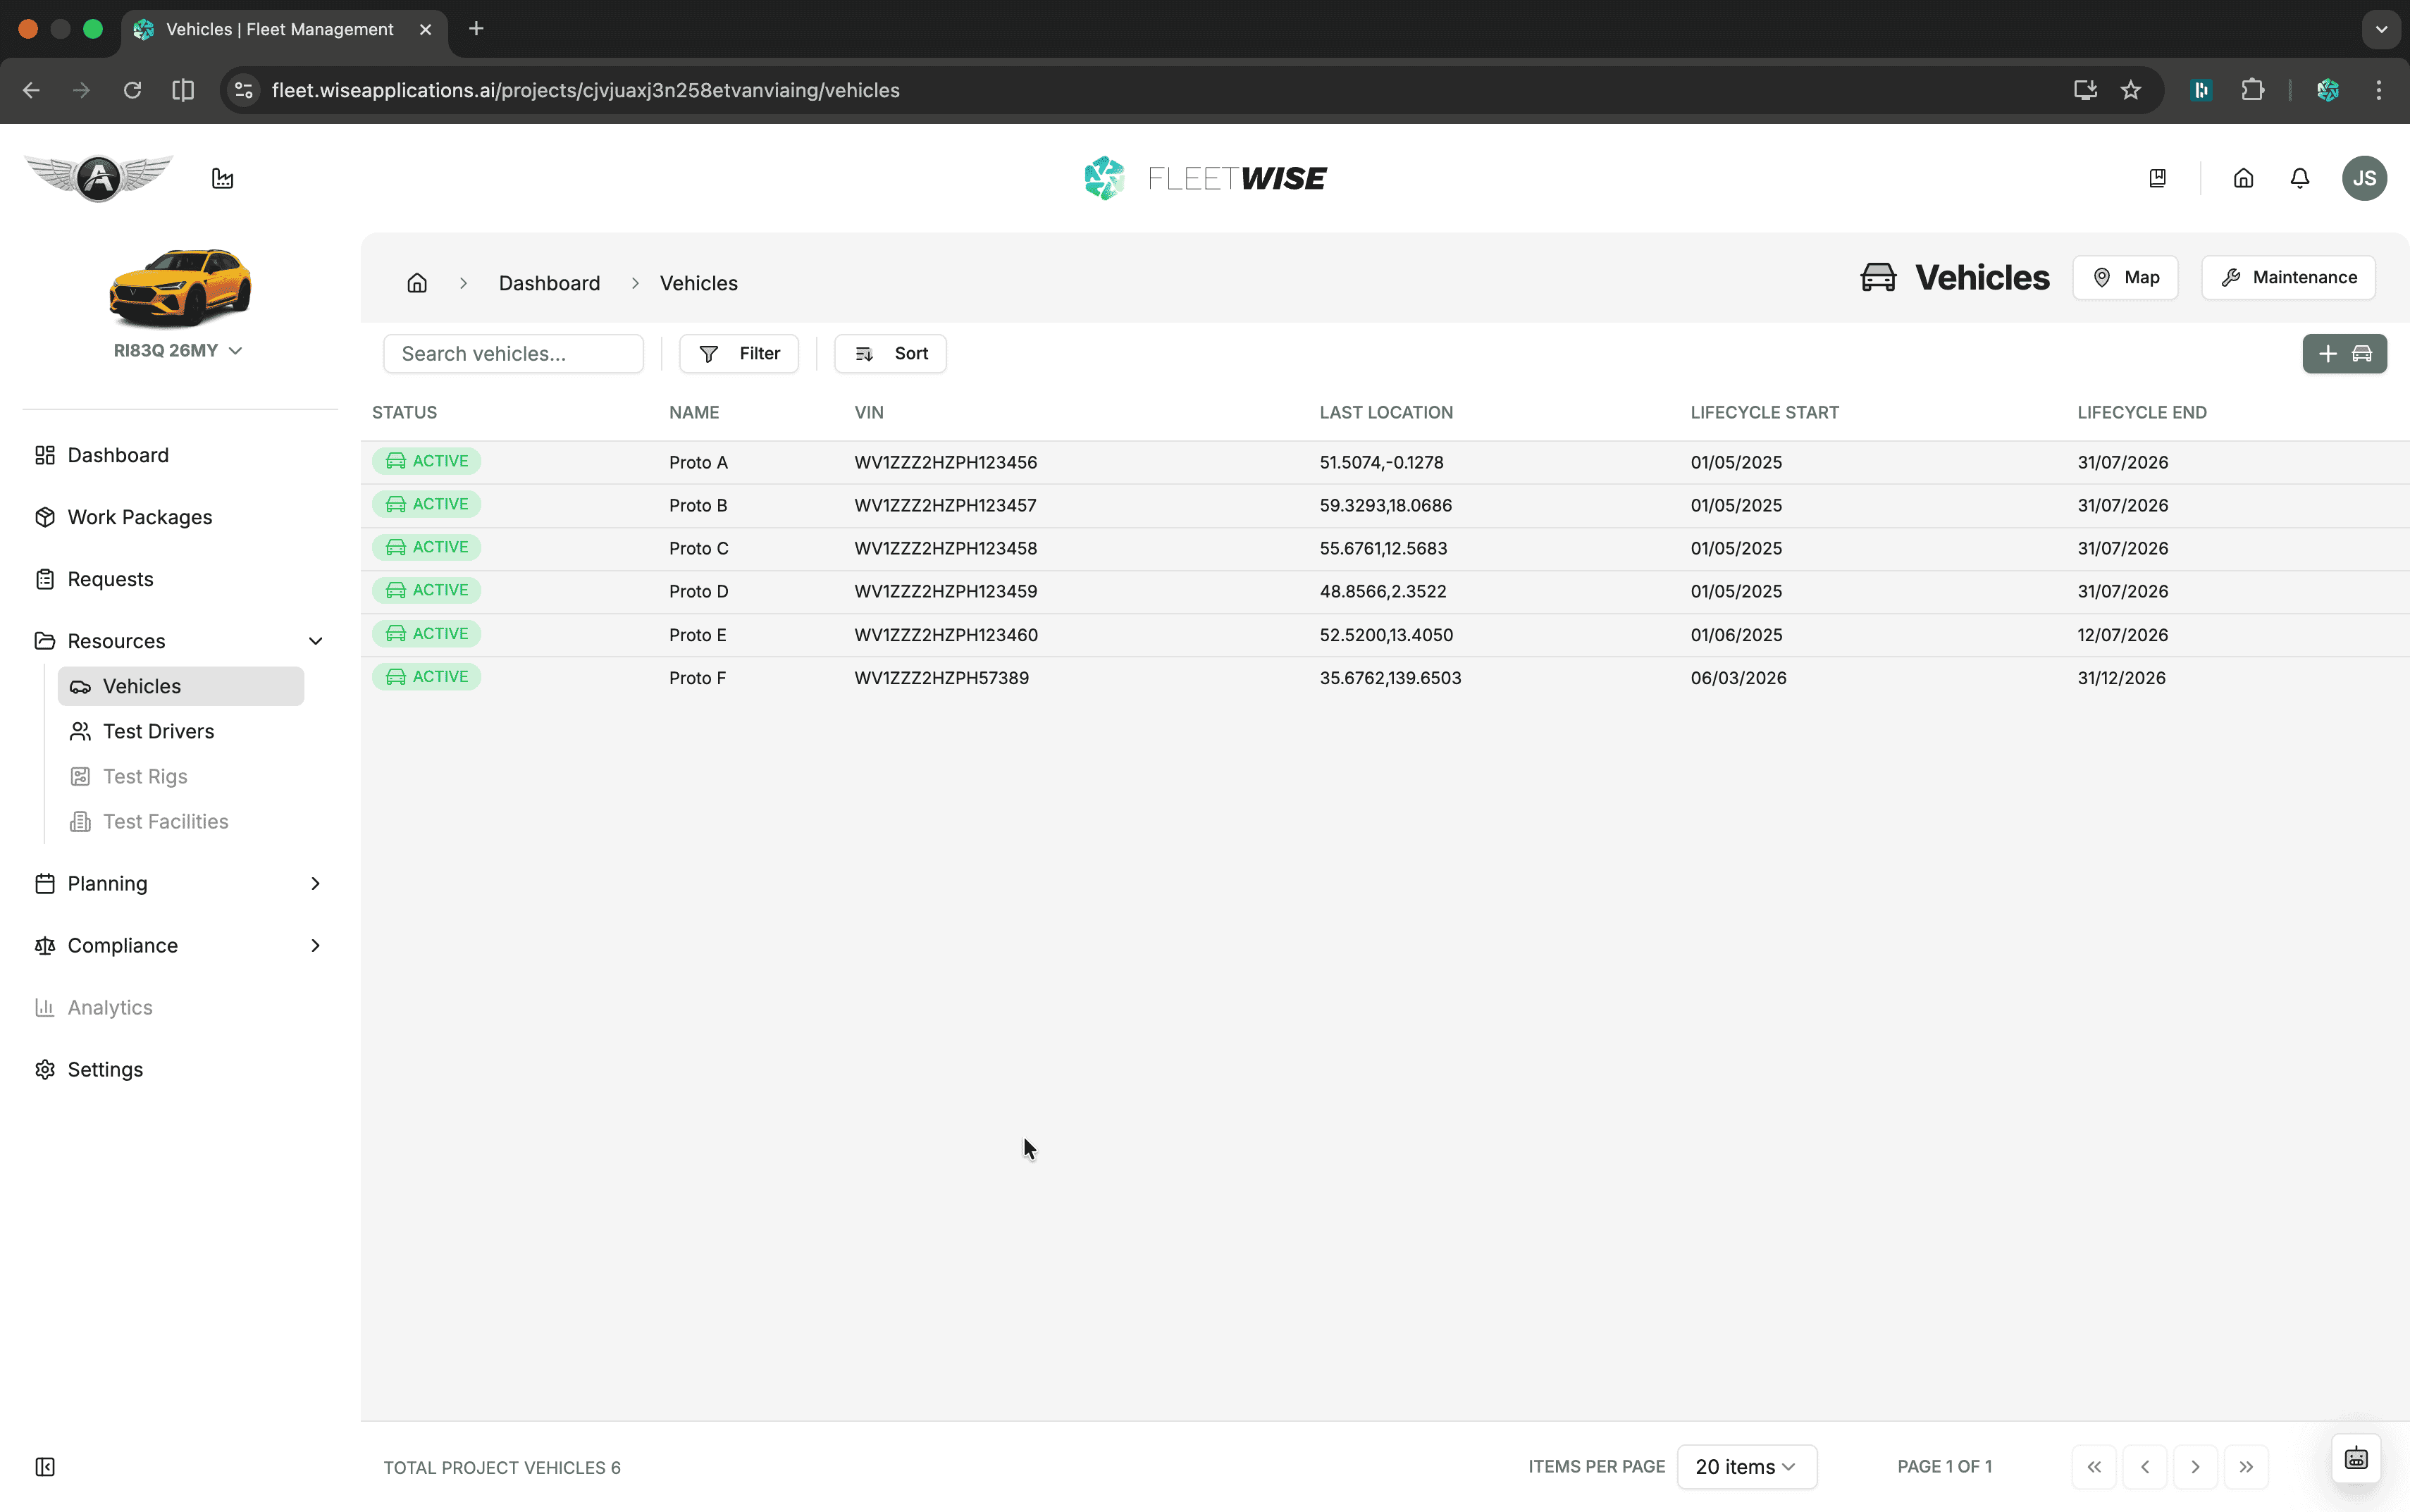
Navigate to Vehicles
Open your project and select Resources → Vehicles in the sidebar. You see the vehicle list with search, filter, and sort controls.
Click Add Vehicle
Click the + Add Vehicle button in the toolbar (top-right of the filter bar). This opens the Add Vehicle form.
Empty project?
If the project has no vehicles yet, you see an empty state with a prominent Add Vehicle link. Click it to go to the same form.
Fill in General Information
The form opens with the General Information section expanded. Fill in the required fields:
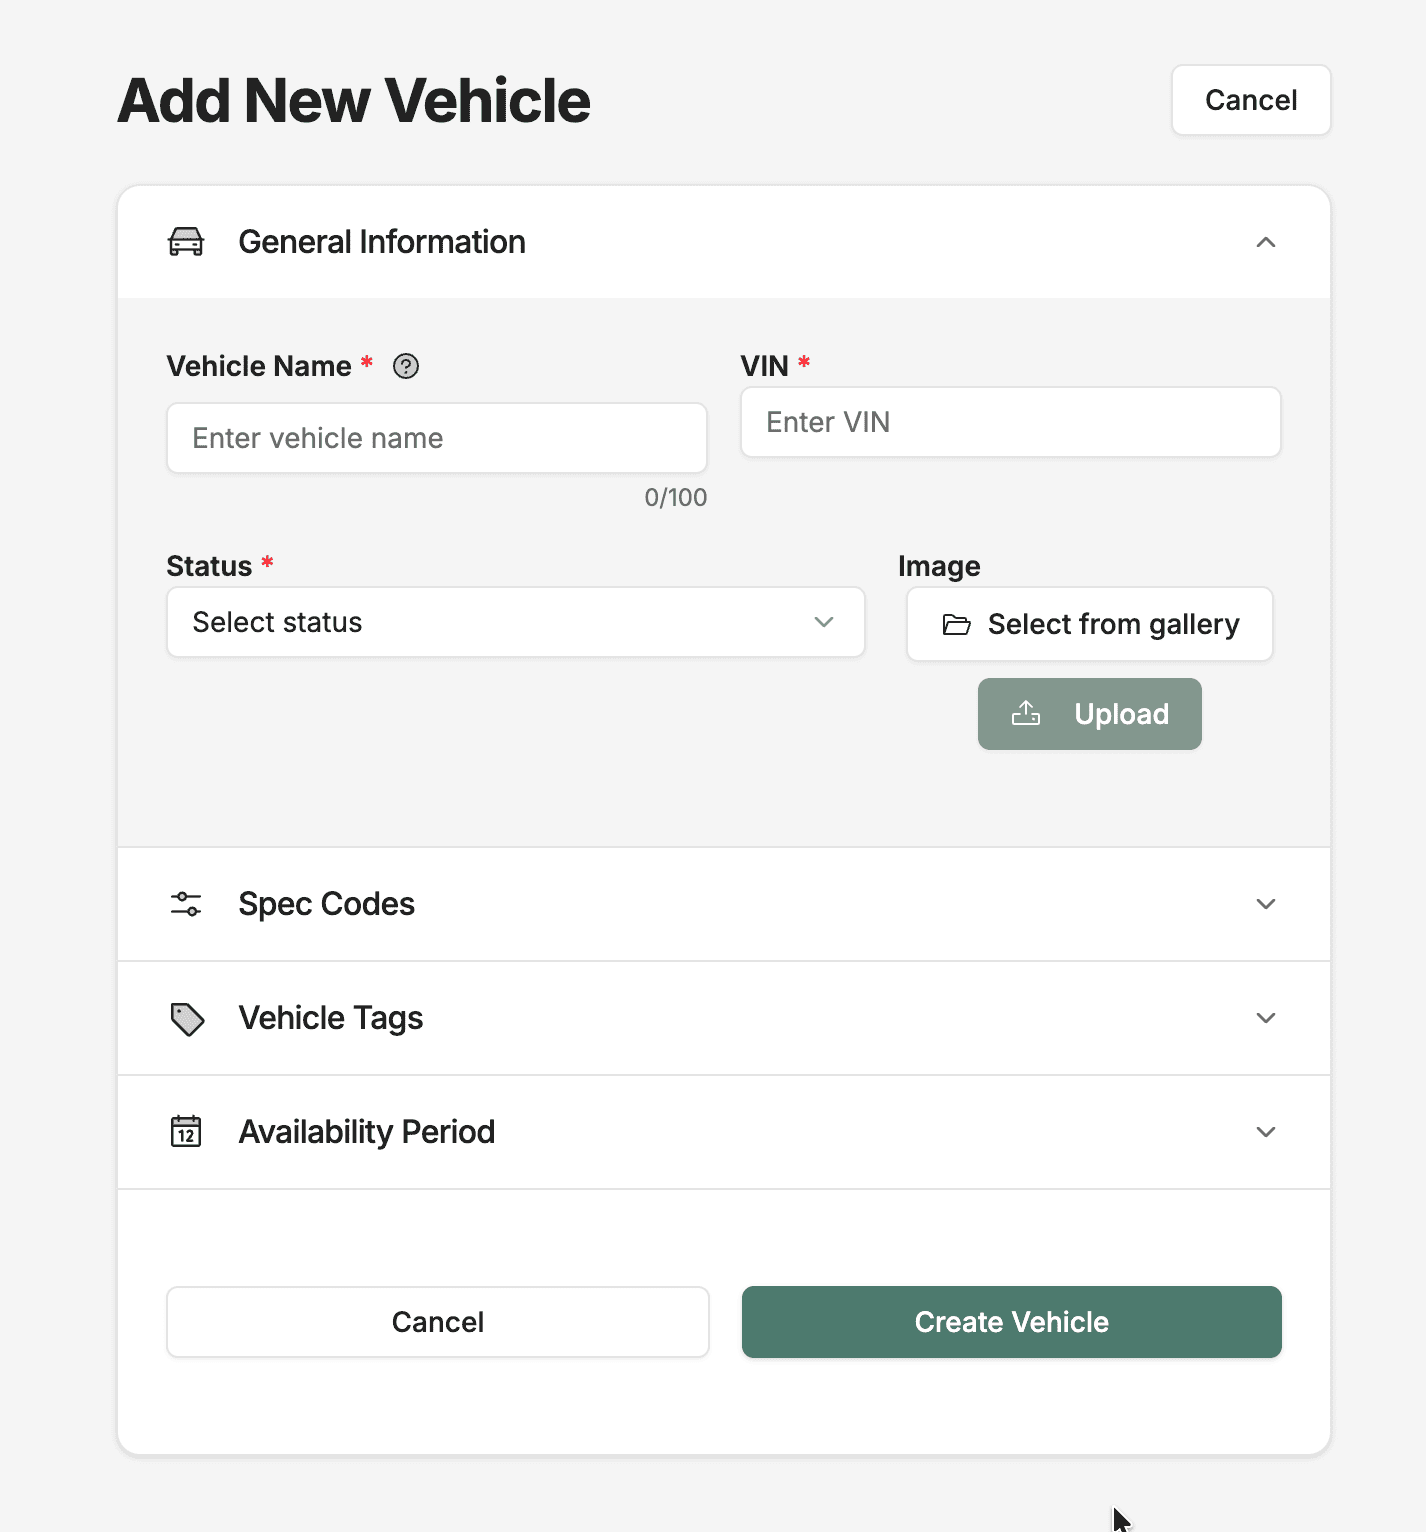
| Field | Required | Description |
|---|---|---|
| Vehicle Name | Yes | A short identifier. Convention: maturity phase + last six digits of the VIN (e.g. VP1-234567). |
| VIN | Yes | Full vehicle identification number. |
| Status | Yes | Initial status — typically Active for a new vehicle. |
| Image | No | Optional vehicle photo from the project image library. |
Add Spec Codes
Expand the Spec Codes section. Use the search selector to find and add spec codes that describe the vehicle's build (powertrain, exterior, interior, etc.).
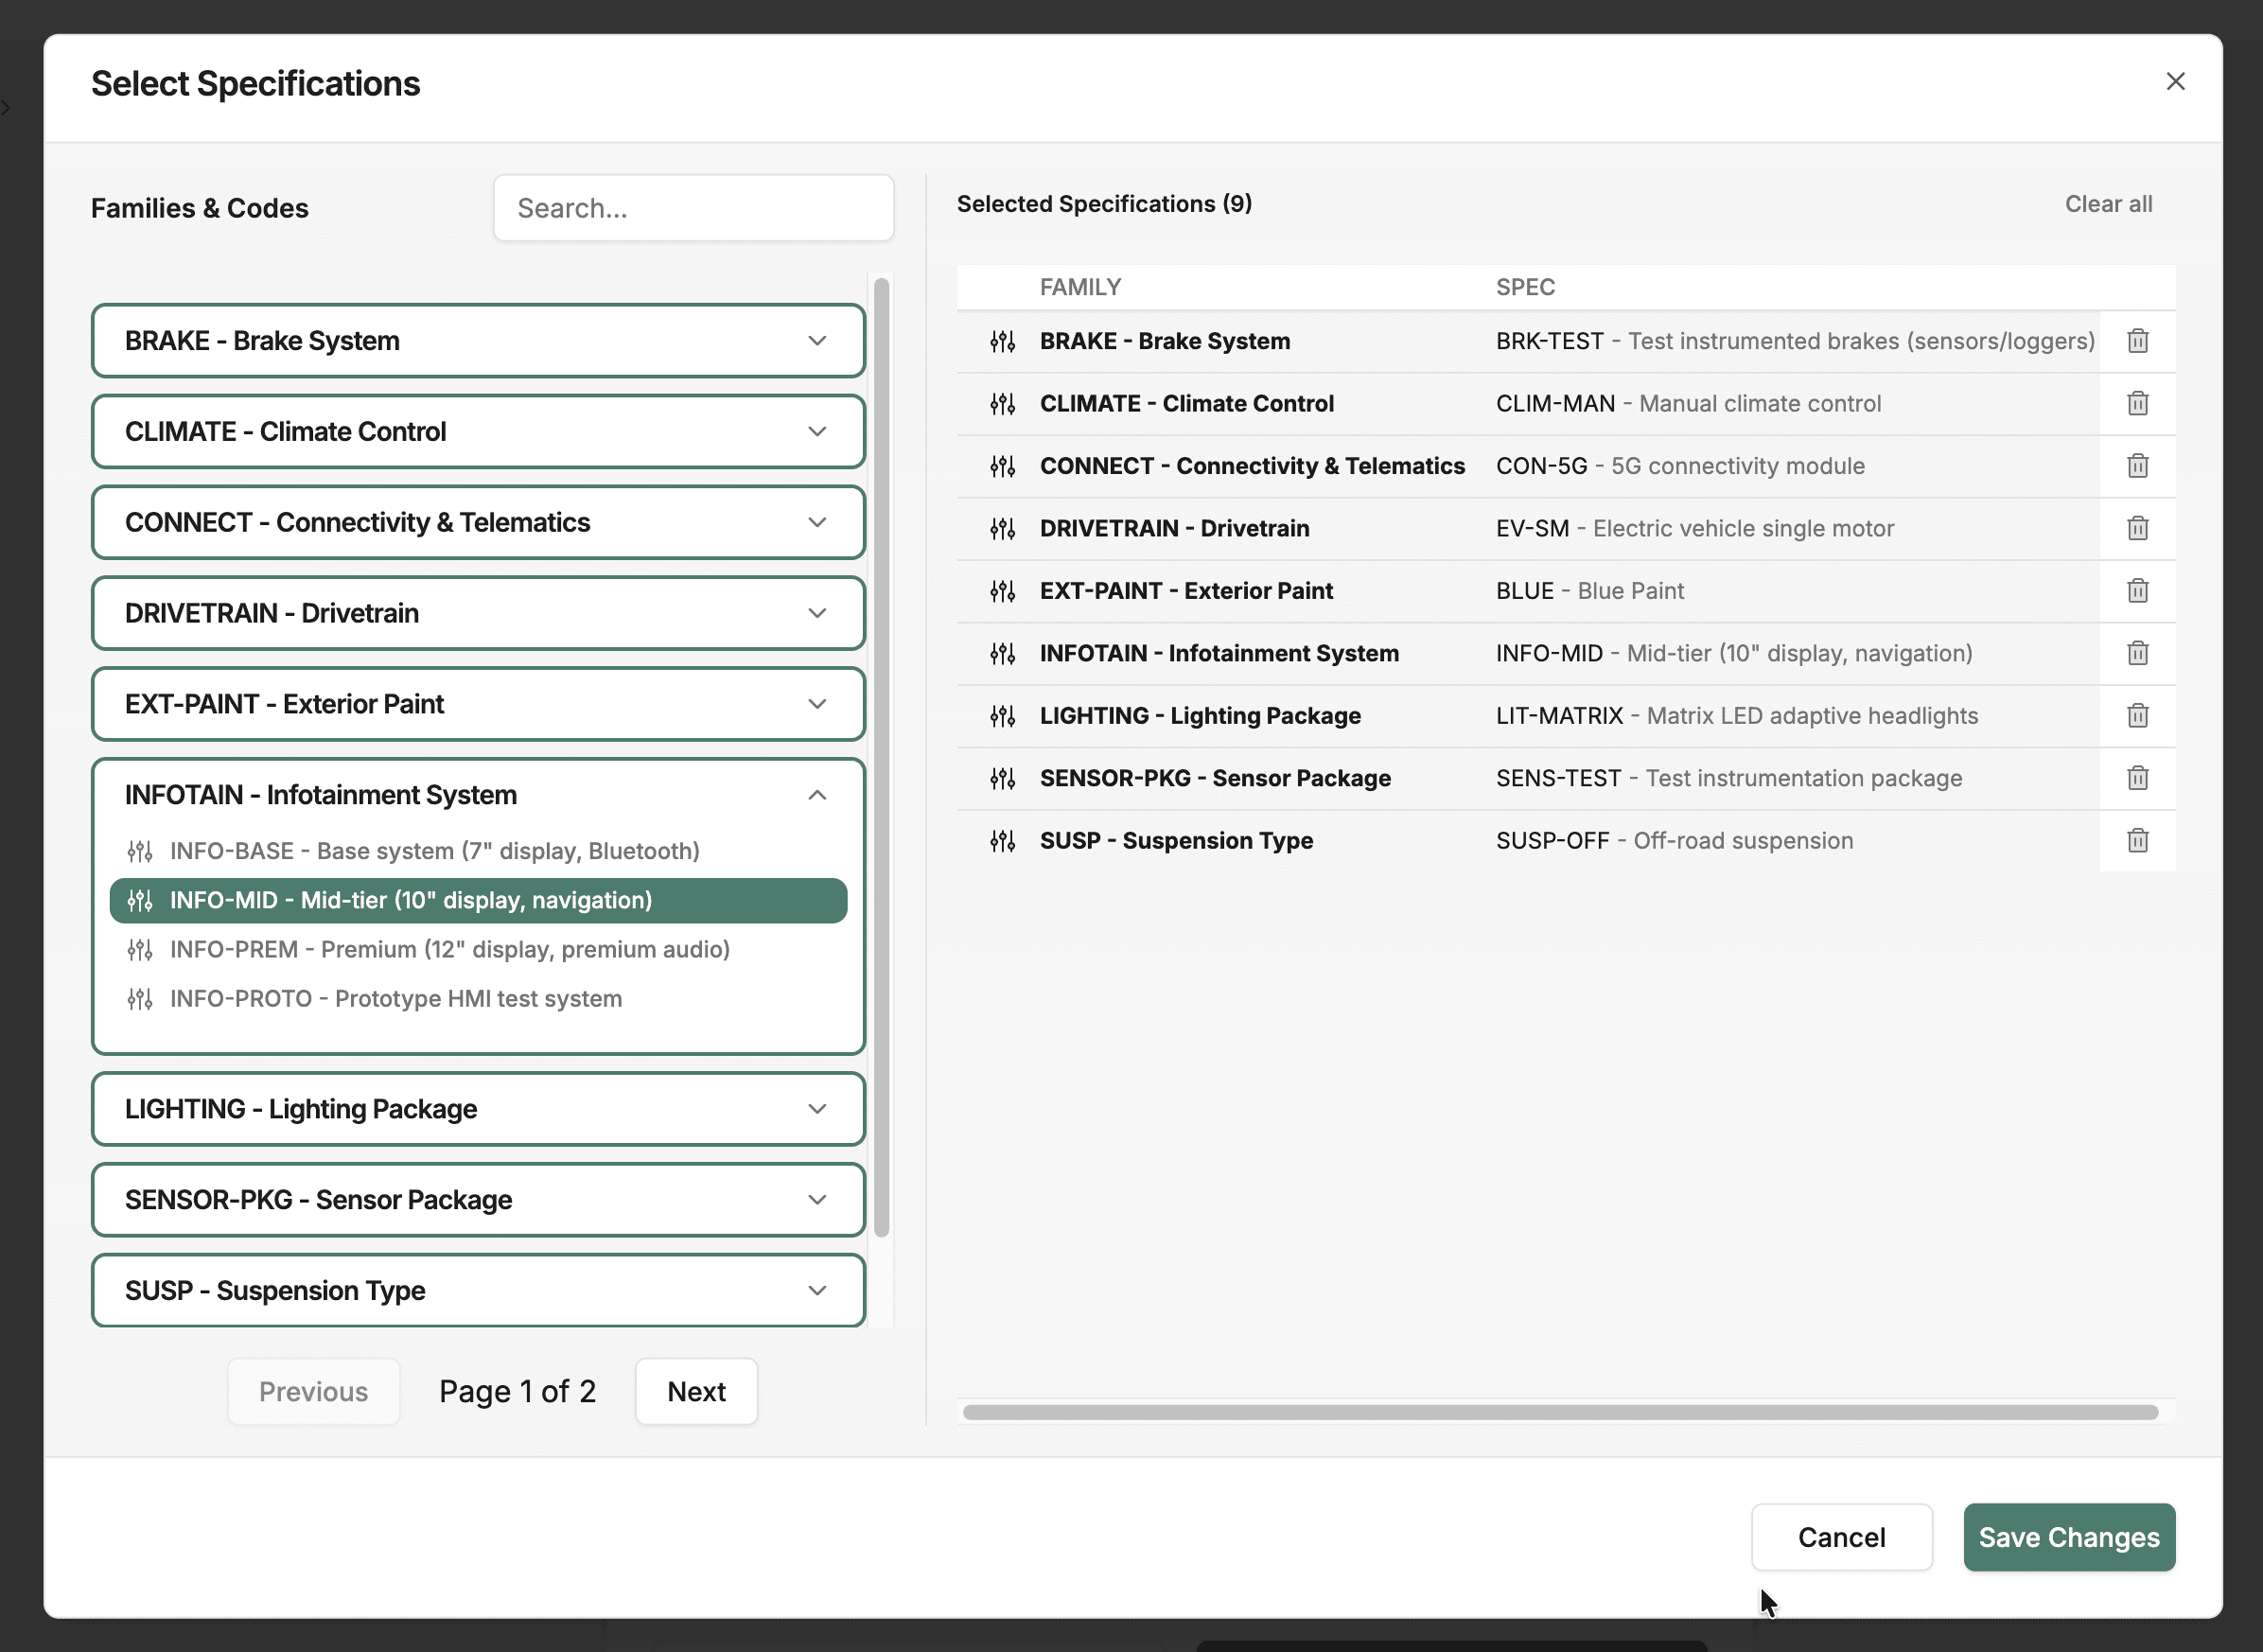
Selected specs appear in a summary table below the selector. These specs are used by the allocator when matching vehicles to requests.
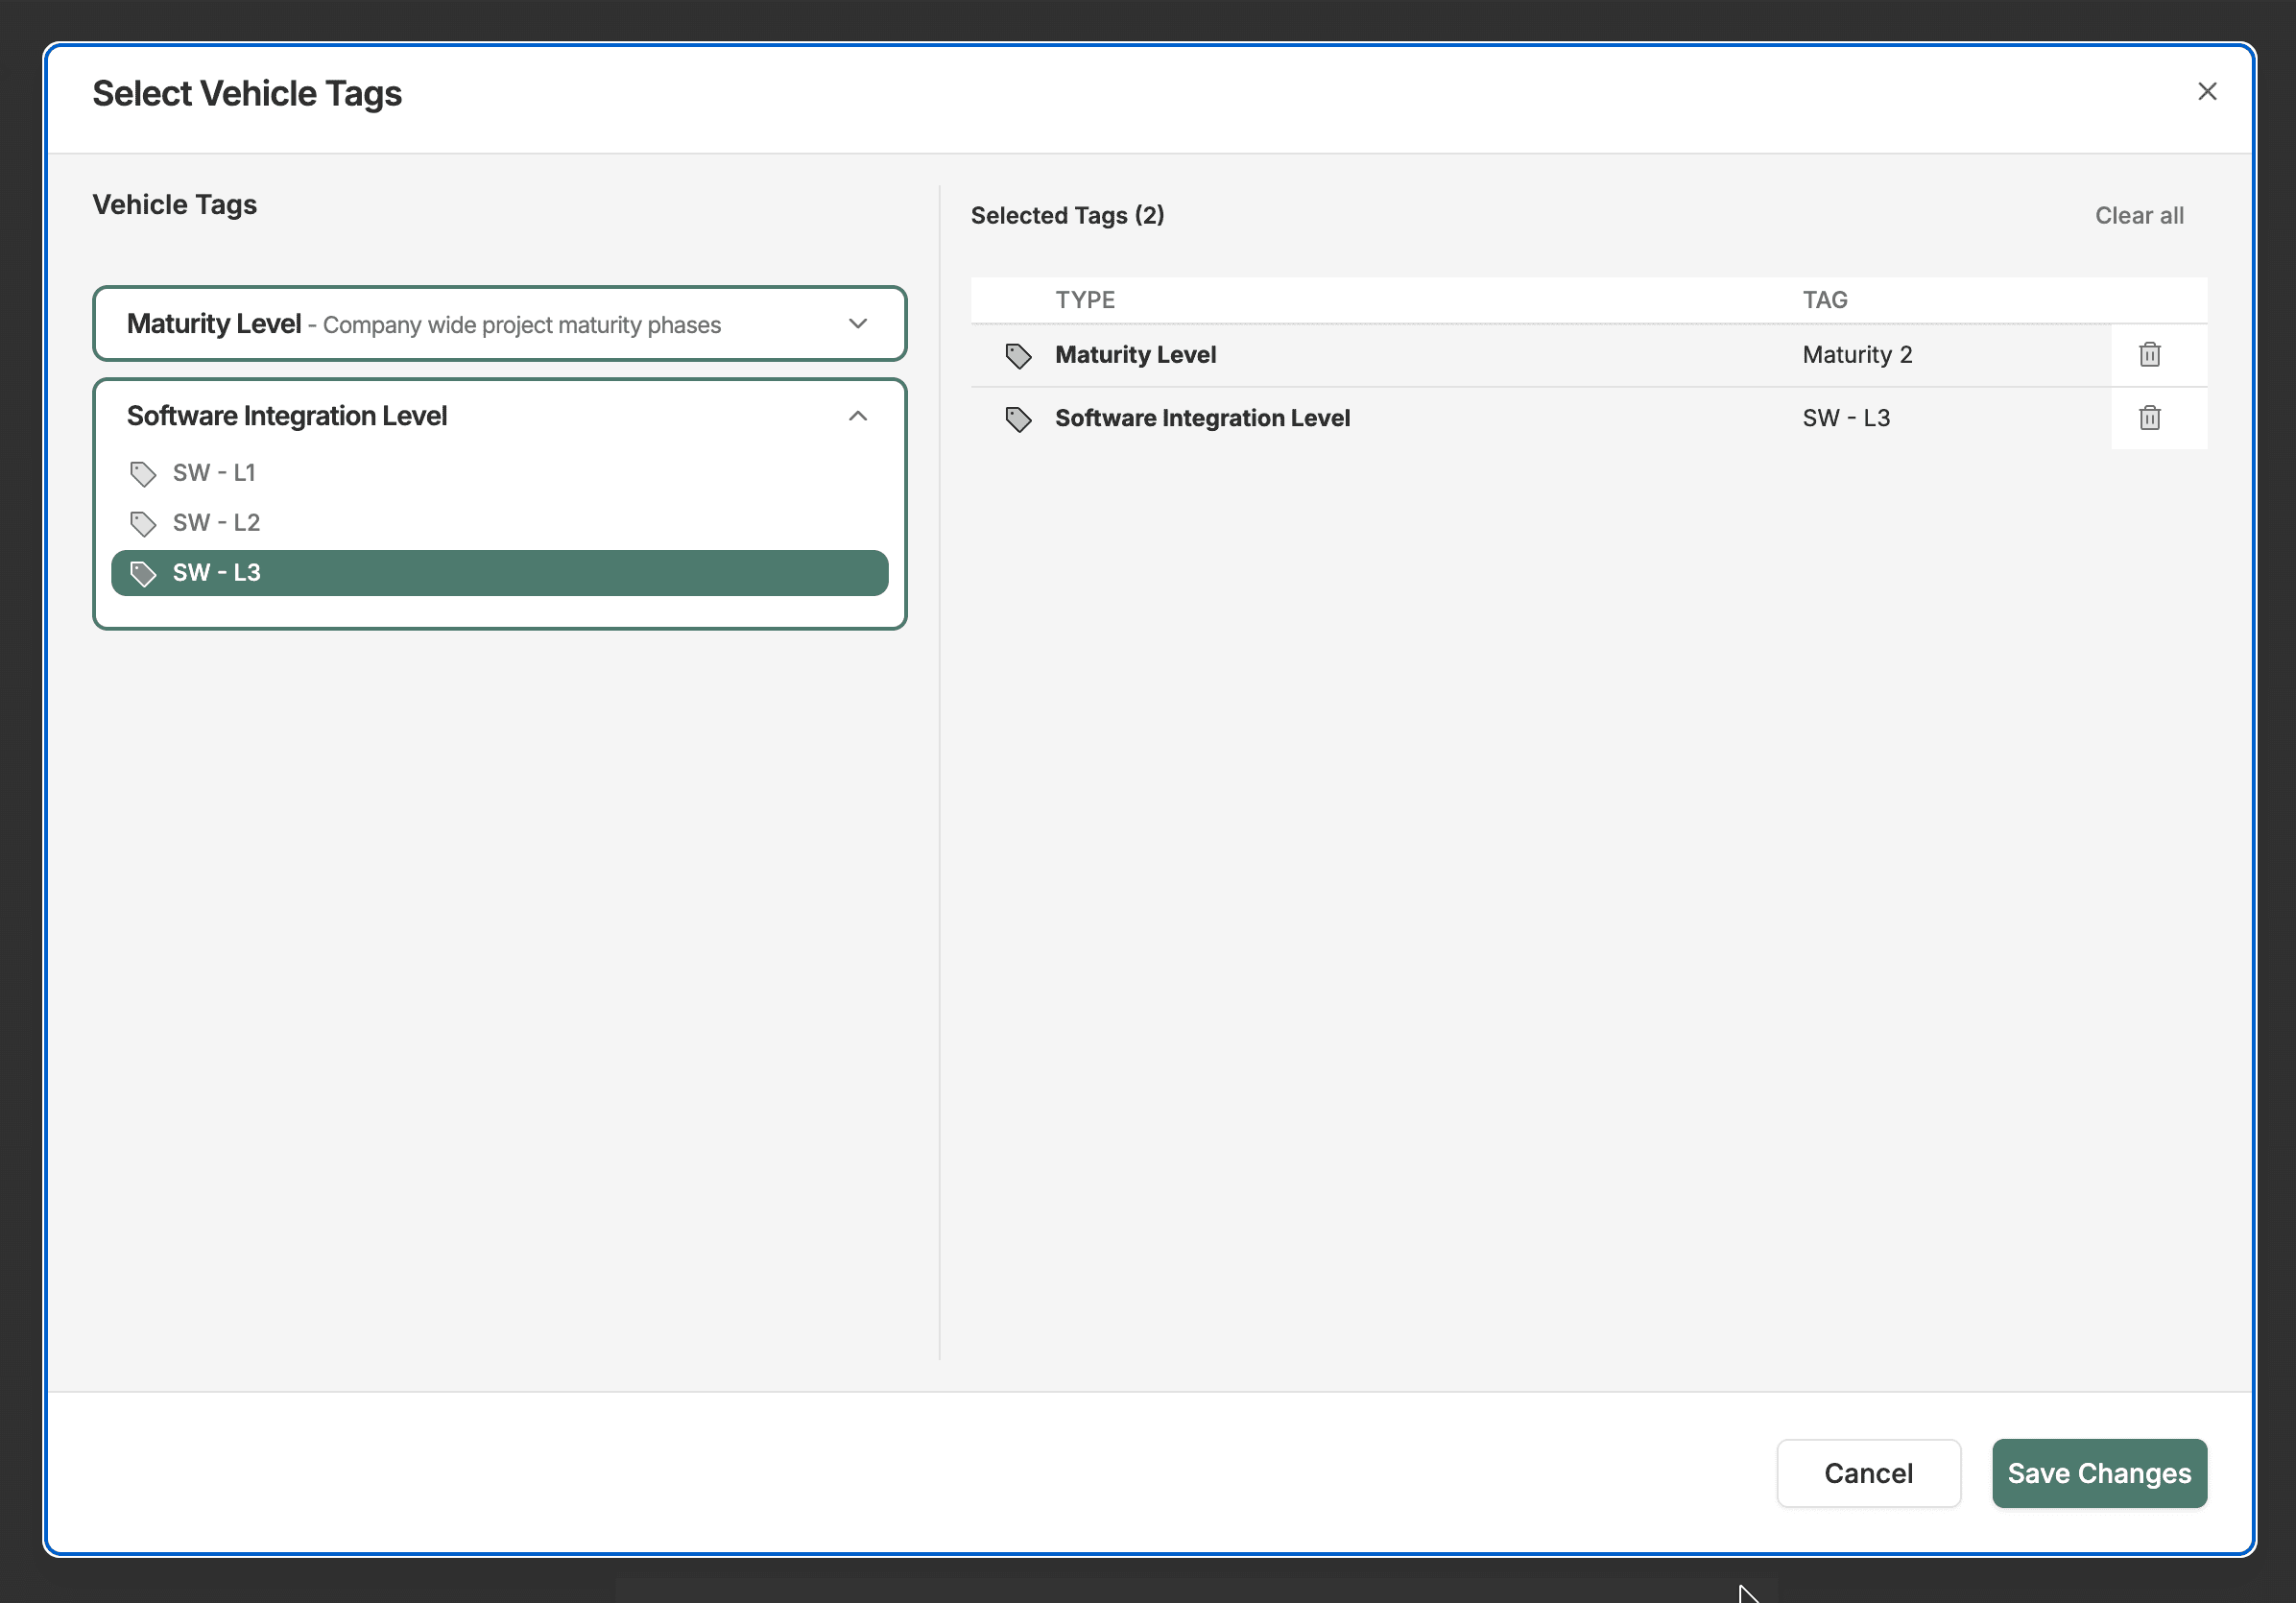
Add Vehicle Tags
Expand the Vehicle Tags section. Select attribute tags that apply to this vehicle. Tags help requestors filter and match vehicles to their needs.
Set the Availability Period
Expand the Availability Period section and pick the start and end dates using the date range picker.
- Start date: when the vehicle becomes available (e.g. delivery date).
- End date: when the vehicle is decommissioned or returned.
Date constraints
The date picker only allows dates within the project's own start and end dates. If you cannot select the dates you need, check the project timeline in Settings.
Create the Vehicle
Click Create Vehicle at the bottom of the form. On success you see a confirmation toast and are redirected back to the Vehicles list, where the new vehicle appears.
What Happens Next
Once the vehicle is created:
- It appears in the Vehicles table and can be filtered by status, sorted, and searched.
- It becomes available for allocation against vehicle requests.
- It can be added to Work Package usage plans for scheduling.
- Its location can be tracked on the Vehicle Map if location data is provided.
Best Practices
- Use a consistent naming convention across the project (e.g.
VP1-prefix for validation phase 1). - Fill in spec codes and tags at creation time — accurate metadata leads to better allocation matching.
- Set realistic availability dates aligned with the actual vehicle delivery and return schedule.
- Keep vehicle status up to date. Mark vehicles as
Inactivewhen they are temporarily unavailable. - Upload a vehicle image to make it easier to identify in lists and detail views.
Troubleshooting
I do not see the Add Vehicle button
You may not have the Vehicle Create permission. Ask a project Owner or Fleet Coordinator to grant access.
No spec codes appear in the selector
Spec code families must be configured in Project Settings → Specifications before they appear here. Ask your project admin to add the relevant families. Ask a project Owner to configure them.
Cannot select availability dates
The date picker restricts selection to the project timeline. Verify the project start and end dates in Settings and extend them if needed.
Vehicle creation fails with an error
Check that all required fields (Name, VIN, Status, Availability dates) are filled. If the error persists, check your network connection and try again. Contact support if the problem continues.