Projects
Creating a Project
Step-by-step guide to setting up a new project in your workspace.
Workspace Admins can create new projects to manage a specific fleet program or testing initiative.
Before You Start
- You need workspace-level permissions to create projects.
- Have the project name, description, and planned timeline (start and end dates) ready.
- Decide which team members need access and what roles they should have.
Step-by-Step Guide
Navigate to Projects
Click Projects in the workspace header to see the full project list.
![]()
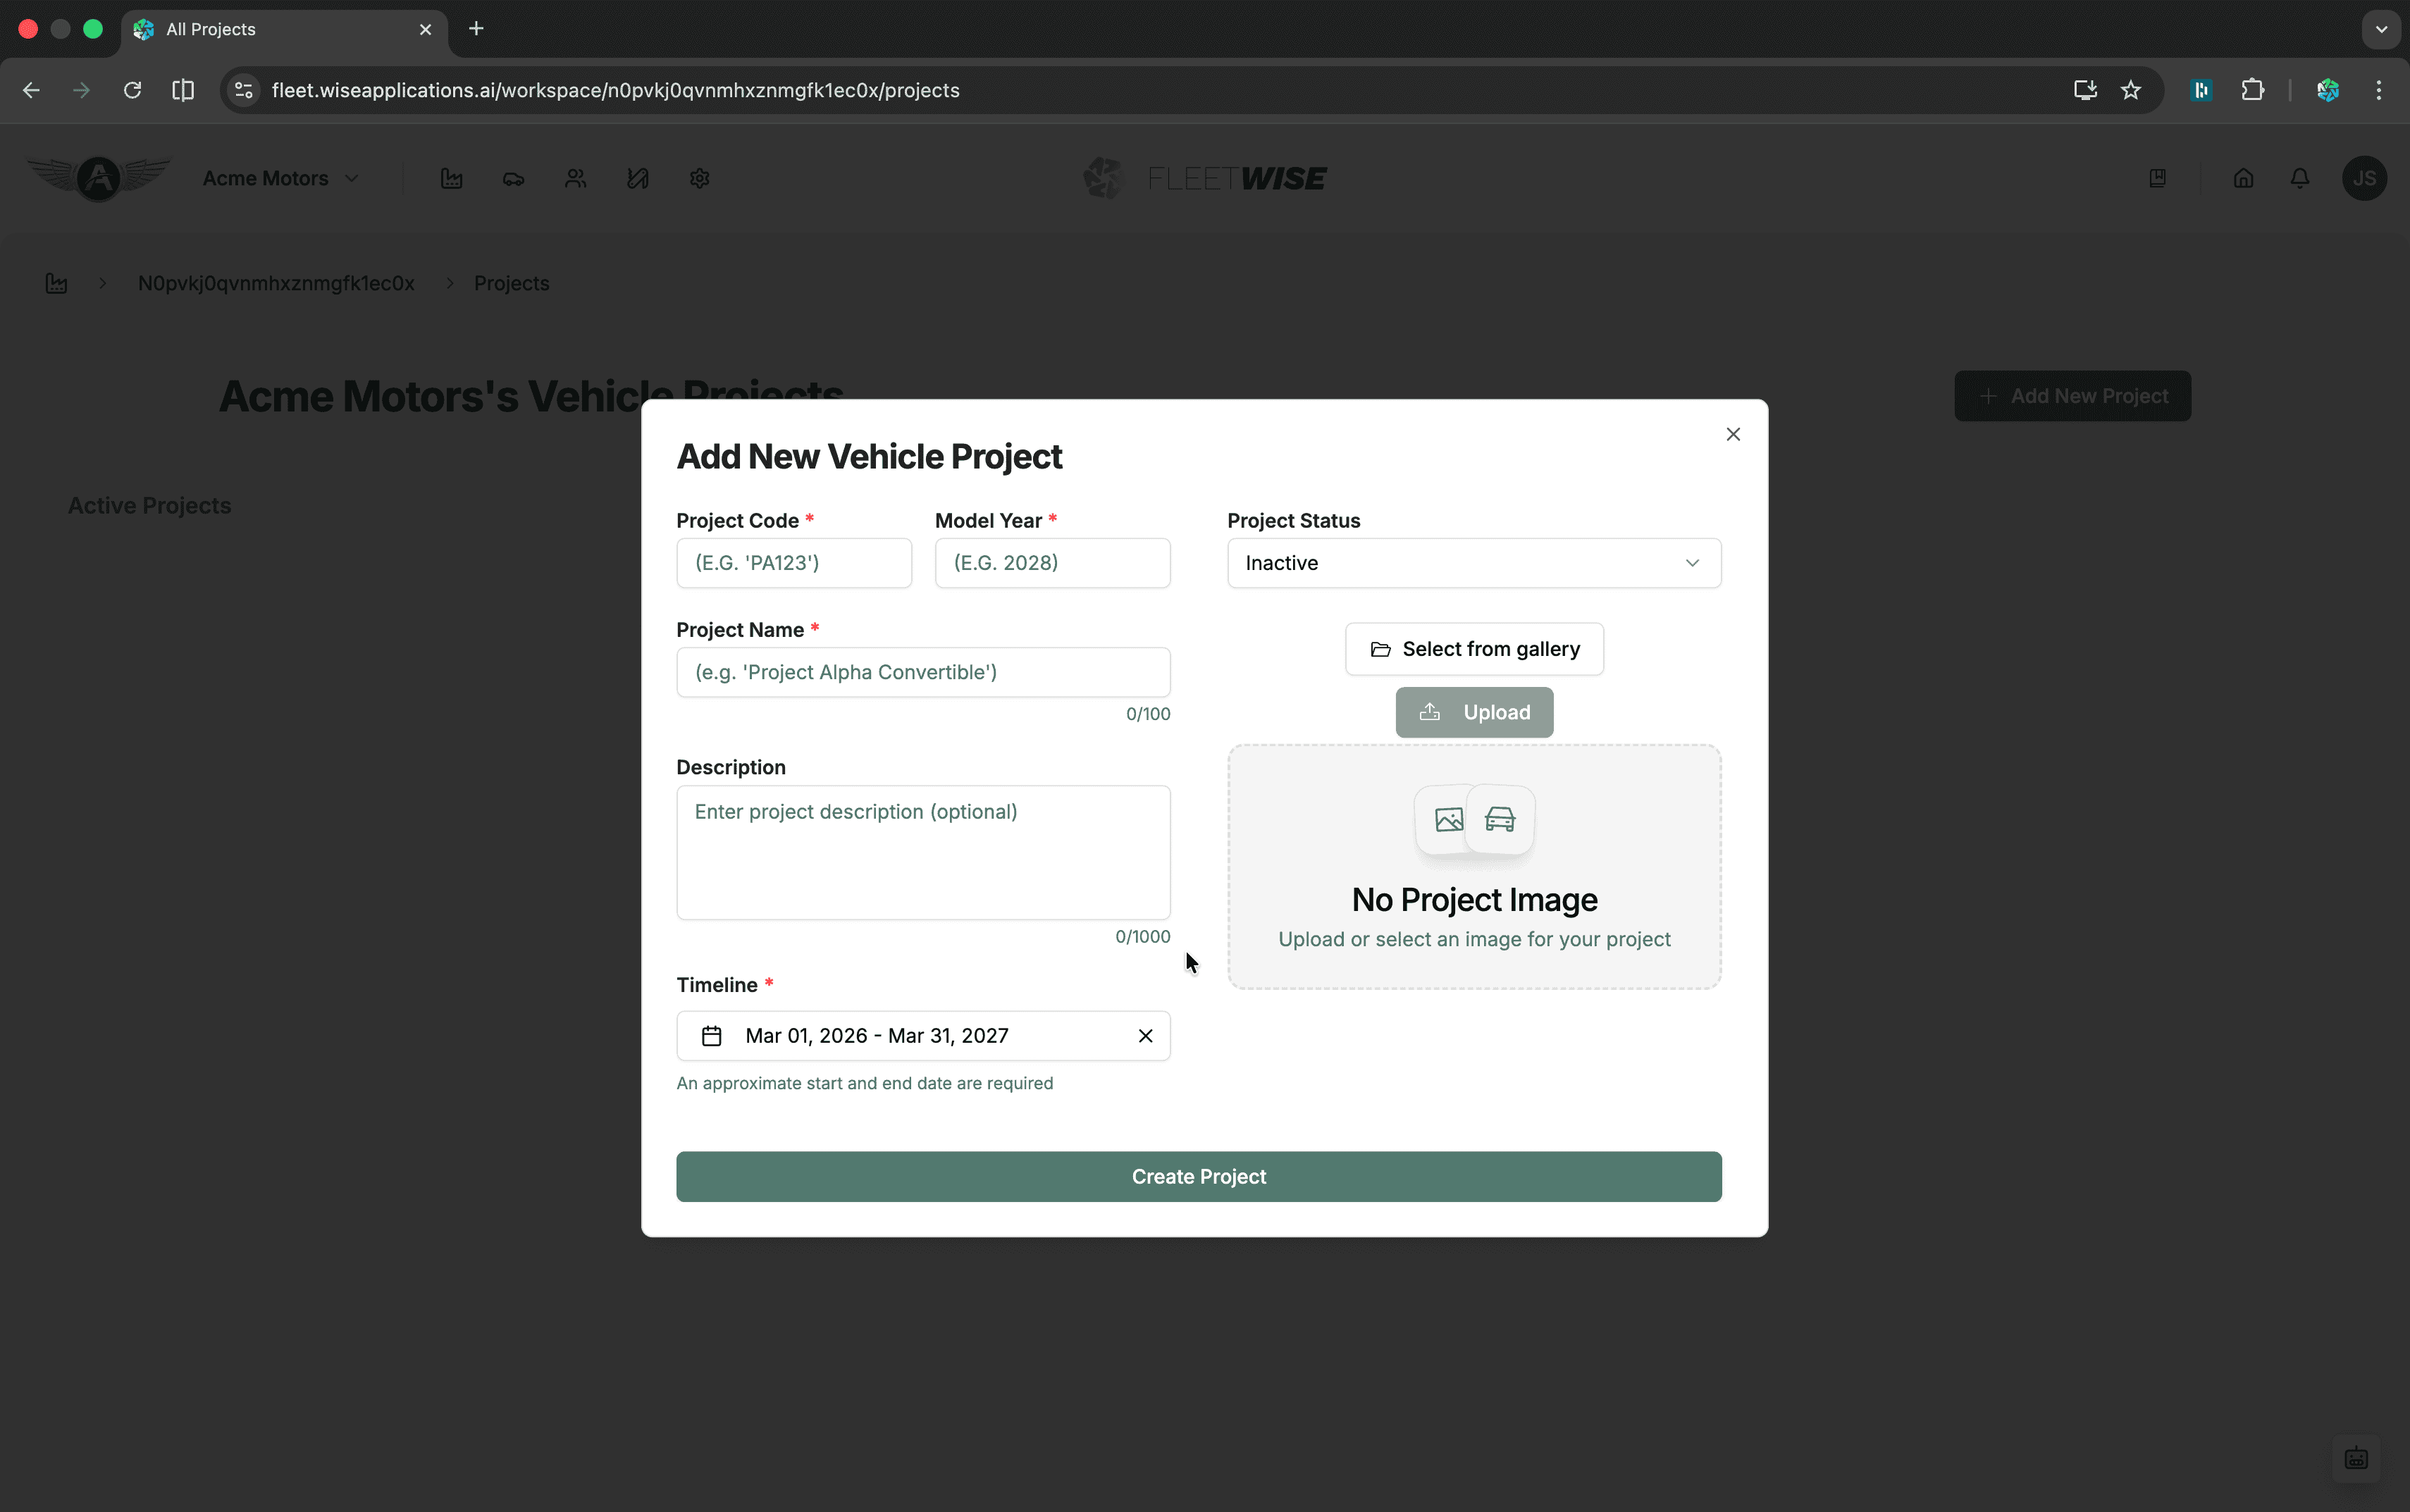
Click Add Project
Click the + Add Project button in the toolbar.
Fill in Project Details
| Field | Required | Description |
|---|---|---|
| Project Name | Yes | A descriptive name for the program or initiative |
| Description | No | Brief summary of the project scope and objectives |
| Start Date | Yes | When the project period begins |
| End Date | Yes | When the project period ends |
| Image | No | Optional project thumbnail |
Project Timeline
The start and end dates define the project's active period. Vehicle availability dates and allocation windows are constrained to fall within this range.
Create the Project
Click Create to save. You are taken to the new project's dashboard.
After Creation
Once the project exists, configure it for use:
- Add members — invite team members and assign roles. See Project Members.
- Configure specifications — set up spec code families and vehicle tags. See Project Settings.
- Add vehicles — register vehicles in the project fleet. See Adding a Vehicle.
- Create work packages — organise testing activities. See Work Packages.
Tips
- Use descriptive project names that include the program name and year or phase for easy identification.
- Set realistic start and end dates — these constrain vehicle and allocation dates for all team members.